Easy Garlic Butter Chicken Breast 30-Minute
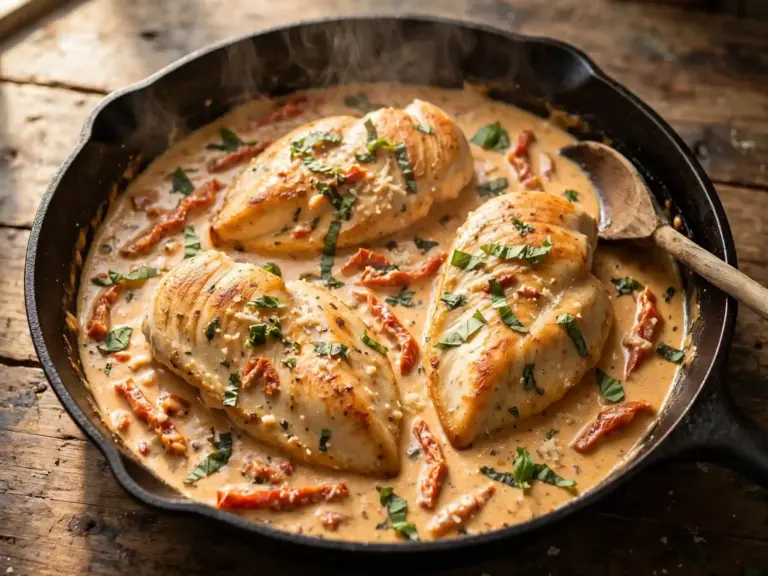
Chicken breast gets a bad reputation for turning out dry, but the fix is really just two things: get the pan hot before the chicken goes in, and stop cooking the second it hits 165°F. This garlic butter version sears in a skillet for color, then finishes in the oven so the inside cooks through gently while the outside stays golden. It’s ready in about 30 minutes and works as a weeknight dinner or meal-prep base for the rest of the week.
Why You’ll Love This
Chicken Breast Two things make this one worth keeping around: the garlic butter gets basted over the chicken in the last few minutes of cooking, so you get flavor without a marinade or overnight prep, and finishing in the oven means you’re not standing over a hot skillet worrying about the center staying raw while the outside burns.
What You’ll Need
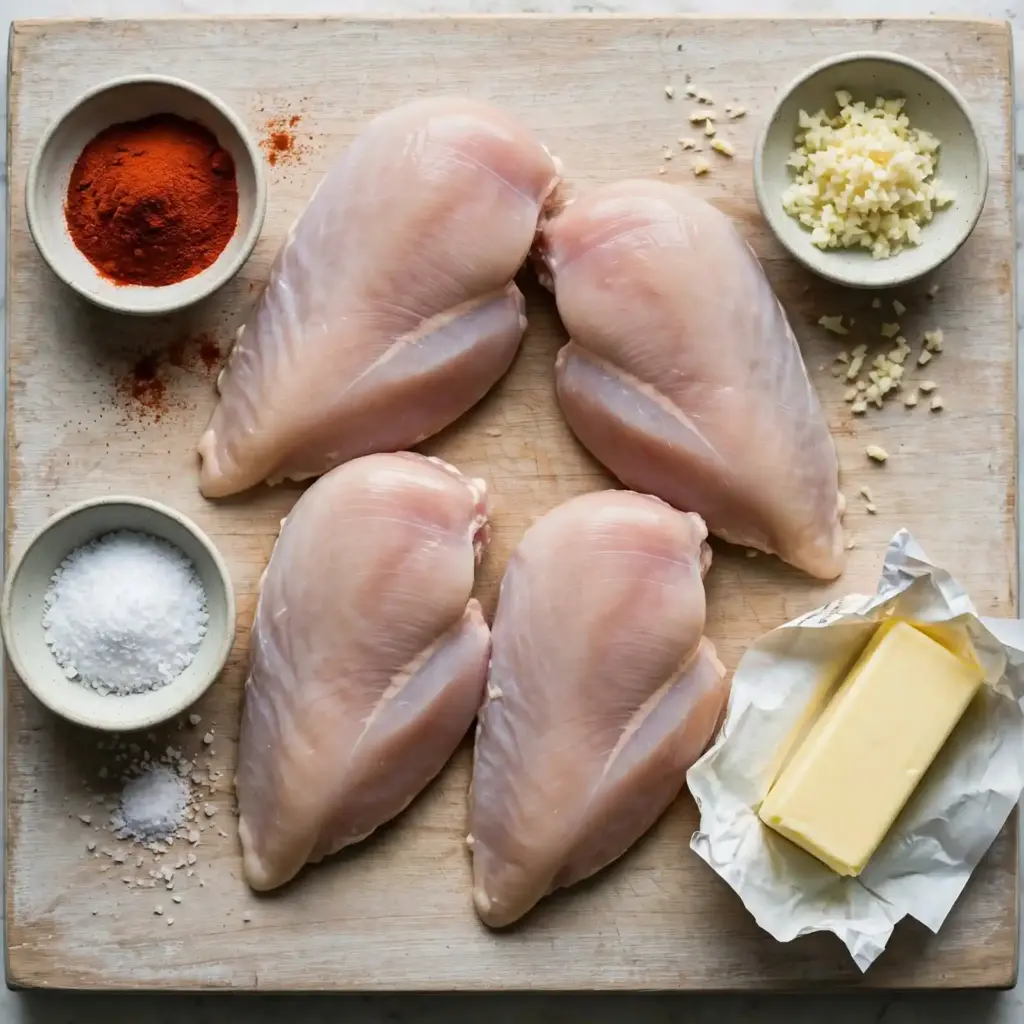
- 4 boneless, skinless chicken breasts (about 6-7 oz each) — try to get pieces of similar thickness so they finish cooking at the same time
- 1 tablespoon olive oil — for searing; a neutral oil like avocado oil works too if you want a higher smoke point
- 4 tablespoons unsalted butter, divided — use a dairy-free butter alternative if needed (see Allergens below)
- 4 garlic cloves, minced — jarred minced garlic works in a pinch, use about 2 teaspoons
- 1 teaspoon kosher salt
- 1/2 teaspoon black pepper
- 1/2 teaspoon paprika — smoked paprika if you have it, for a little more depth
- 2-3 sprigs fresh thyme (optional) — rosemary is a good swap if that’s what’s in your fridge
- Juice of 1/2 lemon (optional, for finishing)
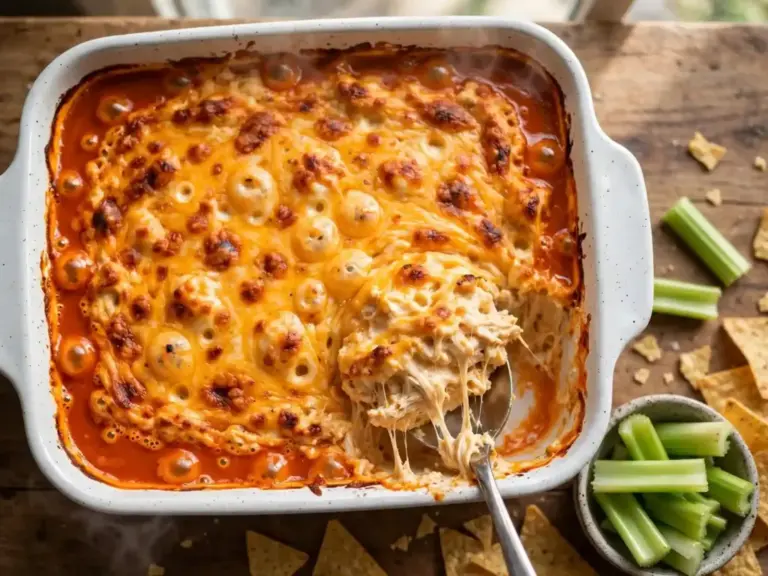
Read Also: Buffalo Chicken Dip
Recipe Timing
Servings: 4 | Difficulty: Easy | Cuisine/Course: American, Main Course
Prep Time: 10 min | Cook Time: 15 min | Resting Time: 5 min | Total Time: 30 min
Equipment: An oven-safe skillet (cast iron or stainless steel), a meat thermometer (this is the one tool that actually prevents dry chicken — don’t skip it), and a cutting board with a groove to catch juices when you slice.
How to Make It
1. Even out the thickness. Chicken breasts are naturally thicker at one end than the other, which is the main reason they cook unevenly. Place each breast between two sheets of plastic wrap and pound the thick end gently with a meat mallet or the bottom of a heavy pan until the whole piece is roughly 3/4 inch thick throughout. This alone fixes most dry-chicken complaints.
2. Season on both sides. Pat the chicken completely dry with paper towels (wet chicken won’t sear, it’ll steam). Season both sides with the salt, pepper, and paprika, pressing it in lightly.
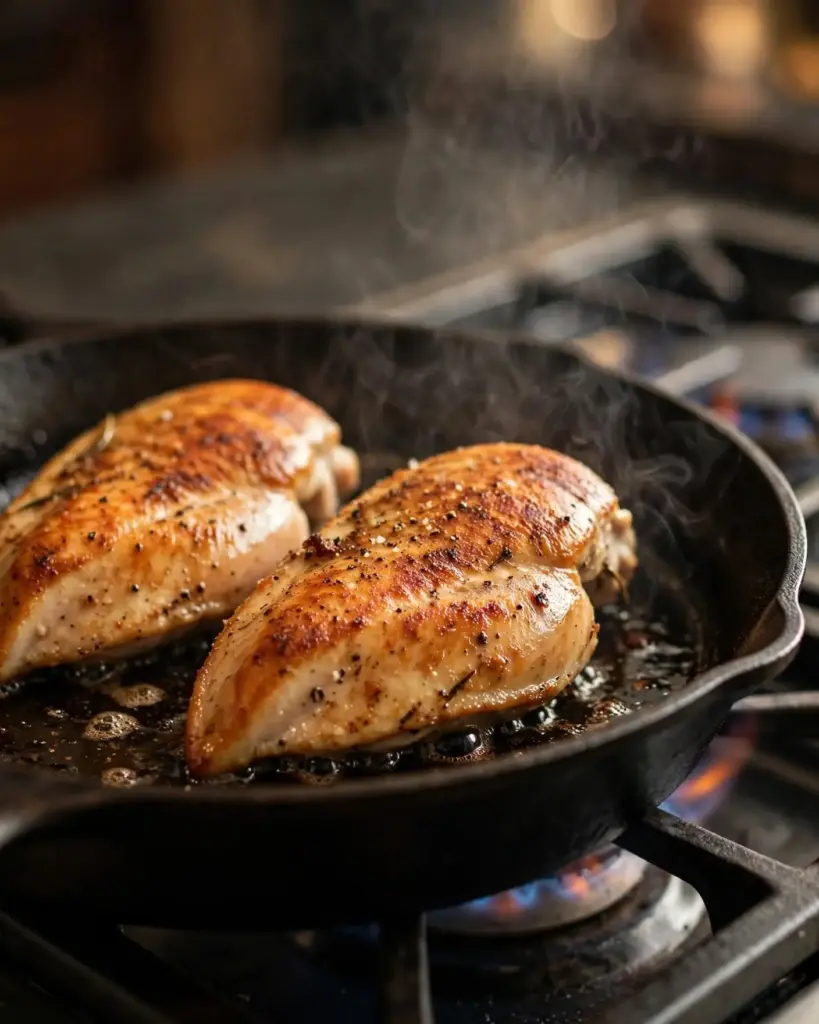
3. Sear. Heat the olive oil in an oven-safe skillet over medium-high heat until it shimmers. Add the chicken and don’t move it for 4-5 minutes, until a deep golden crust forms and it releases easily from the pan. Flip and sear the second side for 3-4 minutes.
Food safety note: wash your hands, cutting board, and any utensils that touched raw chicken with hot soapy water before they touch anything else, and never put cooked chicken back on the same plate that held it raw.
4. Finish in the oven. Preheat your oven to 400°F while the chicken sears. Once both sides are browned, add the butter, garlic, and thyme to the skillet, then transfer the whole pan to the oven. Bake for 6-9 minutes, depending on the thickness of your chicken.
5. Check for doneness the right way. Insert a meat thermometer into the thickest part of the largest breast. It’s done at 165°F, full stop, not when it “looks cooked” or the juices “run clear,” both of which are unreliable on their own. Pull it as soon as it hits temperature; it will keep cooking a few more degrees as it rests.
6. Baste and rest. Spoon the melted garlic butter over the chicken a few times while it’s still in the hot skillet. Transfer to a cutting board and let it rest for 5 minutes before slicing, this is what keeps the juices in the meat instead of on your cutting board. Squeeze the lemon over the top if using, then slice against the grain.
Why This Works
Searing first and finishing in the oven splits the cooking into two jobs instead of one: the skillet handles color and crust at high heat, and the oven’s gentler, more even heat brings the center up to temperature without scorching the outside. Pounding the chicken to an even thickness removes the biggest variable, a too-thin edge that’s already dry by the time the thick center catches up.
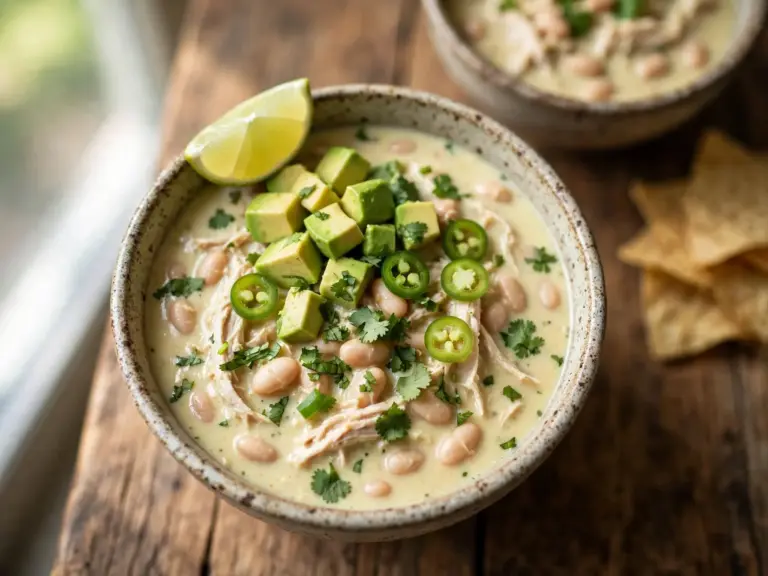
Read Also: White Chicken Chili
Key Tips
- Buy a $10 instant-read thermometer if you don’t have one. It’s the single biggest upgrade for chicken breast specifically, since visual cues are genuinely unreliable on white meat.
- Let the chicken sit out for 10-15 minutes before cooking. Cold-from-the-fridge chicken cooks unevenly because the outside finishes long before the center catches up.
- Don’t skip the rest. Cutting into chicken straight off the heat is the fastest way to lose all the moisture you just worked to keep in.
If Your Chicken Breast Keeps Coming Out Dry
This is the most common complaint about this cut, and it almost always comes down to one of three things: uneven thickness (fix with pounding, step 1), no thermometer (fix with steps 5 and 6), or skipping the rest before slicing (fix with step 6). If you’ve tried all three and it’s still dry, your pieces may be larger than the 6-7 oz called for here; bigger breasts need a longer oven time, so check temperature a few minutes earlier than the range given.
Variations
- Lemon herb: Swap the paprika for 1 teaspoon dried oregano and add extra lemon juice to the pan butter.
- Spicy: Add 1/4 teaspoon cayenne to the seasoning mix and finish with a drizzle of hot honey.
- Creamy garlic: After basting, stir 2 tablespoons of heavy cream into the pan butter for a light sauce to spoon over the sliced chicken.
- Grilled instead of pan-seared: Skip the skillet and grill over medium heat, 6-7 minutes per side, still checking for 165°F internally.
Serving Suggestions
Slice and serve over rice, mashed potatoes, or a simple green salad, spooning the garlic butter from the pan over everything. It also holds up well cubed into pasta, folded into a grain bowl, or sliced cold on top of a sandwich the next day.
Storage, Reheating, and Freezing
Storage: Keep in an airtight container in the fridge for up to 4 days.
Reheating: Reheat gently, covered, in a 300°F oven for about 10 minutes, or in short bursts in the microwave at 50% power. Full-power microwaving is the fastest way to turn already-cooked chicken breast rubbery.
Freezing: Freeze cooked, sliced chicken in a freezer bag with the air pressed out for up to 3 months. Thaw overnight in the fridge before reheating.
Make-ahead: You can season the raw chicken up to a day ahead and keep it covered in the fridge; this also acts like a light dry brine and helps with juiciness.
Nutrition (per serving, estimated)
Calories: 310 | Protein: 35g | Carbs: 1g | Fat: 18g | Fiber: 0g | Sugar: 0g | Sodium: 520mg
This is an estimate based on the ingredients listed and will vary depending on exact brands and portion sizes used.
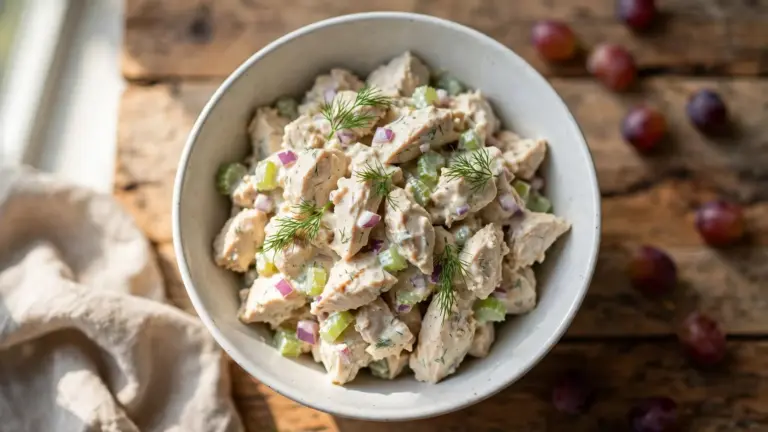
Read Also: Chicken Salad Recipe
Allergens
As written, this recipe contains dairy (butter). For a dairy-free version, substitute a plant-based butter or additional olive oil in equal amounts; the texture of the pan sauce will be slightly thinner. This recipe as written contains the allergen listed above. Substitutions change the recipe but don’t guarantee an allergen-free result — always check your specific product labels, and check with a doctor or dietitian if you’re cooking for someone with a diagnosed allergy.
FAQs
What temperature should chicken breast be cooked to?
165°F measured at the thickest part with an instant-read thermometer. This is the one number worth memorizing, since color and juice clarity aren’t reliable indicators on their own.
Why does my chicken breast always come out dry?
Most often it’s a combination of uneven thickness, overcooking past 165°F, and slicing before it rests. Pounding the chicken to an even thickness and pulling it right at temperature fixes the majority of cases.
Can I use chicken thighs instead?
Yes. Thighs are more forgiving because they have more fat, but they need a slightly higher target temperature, around 175°F, for the best texture, and will usually take a couple of minutes longer in the oven.
Can I make this ahead for meal prep?
Yes, it holds up well for 4 days in the fridge. Slice it and portion it out with your sides, then reheat gently rather than on full microwave power to avoid drying it out further.
Can I freeze leftover cooked chicken breast?
Yes, for up to 3 months in a sealed freezer bag with the air pressed out. Thaw it in the fridge overnight rather than at room temperature.
Conclusion
Once you’ve made chicken breast this way a couple of times, the two things that actually matter, even thickness and a thermometer, become second nature, and you’ll stop thinking of chicken breast as the cut that always turns out dry. It’s a fast enough dinner for a weeknight and reheats well enough to double as lunch the next day.
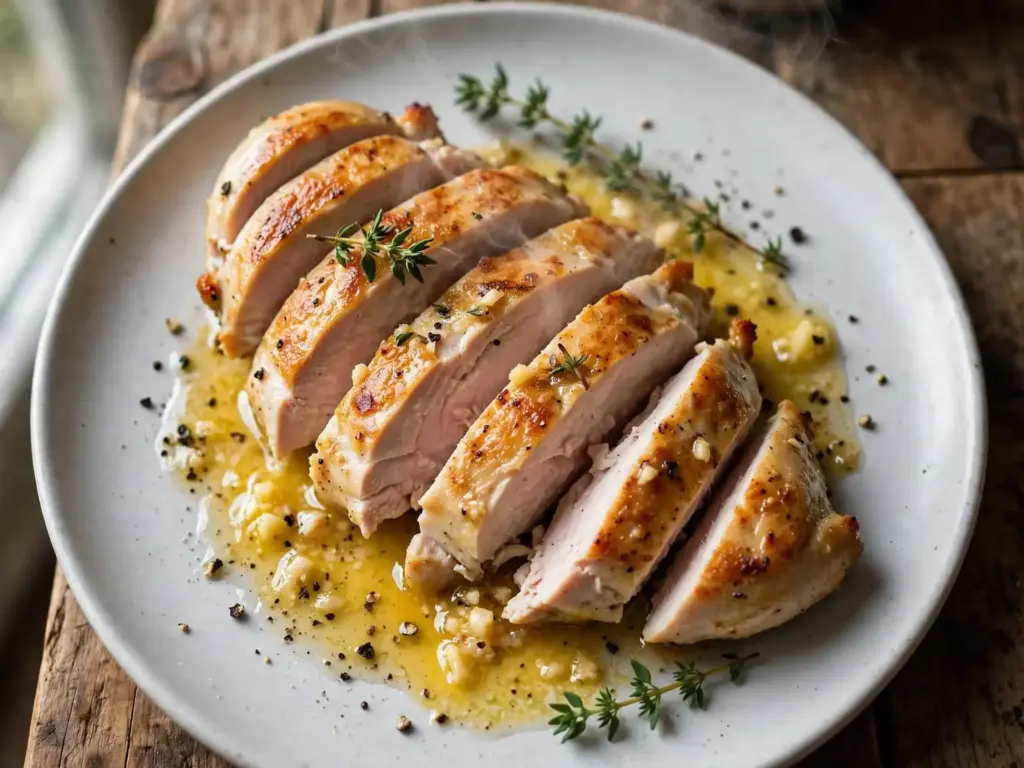
30-Minute Garlic Butter Chicken Breast
Ingredients
Method
- Pound chicken to an even 3/4-inch thickness.
- Pat dry and season both sides with salt, pepper, and paprika.
- Sear in olive oil over medium-high heat, 4-5 minutes per side, until golden.
- Add butter, garlic, and thyme to the pan; transfer skillet to a 400°F oven for 6-9 minutes.
- Check with a meat thermometer; remove at 165°F.
- Baste with pan butter, rest 5 minutes, add lemon juice if using, and slice against the grain.
One Comment
Comments are closed.