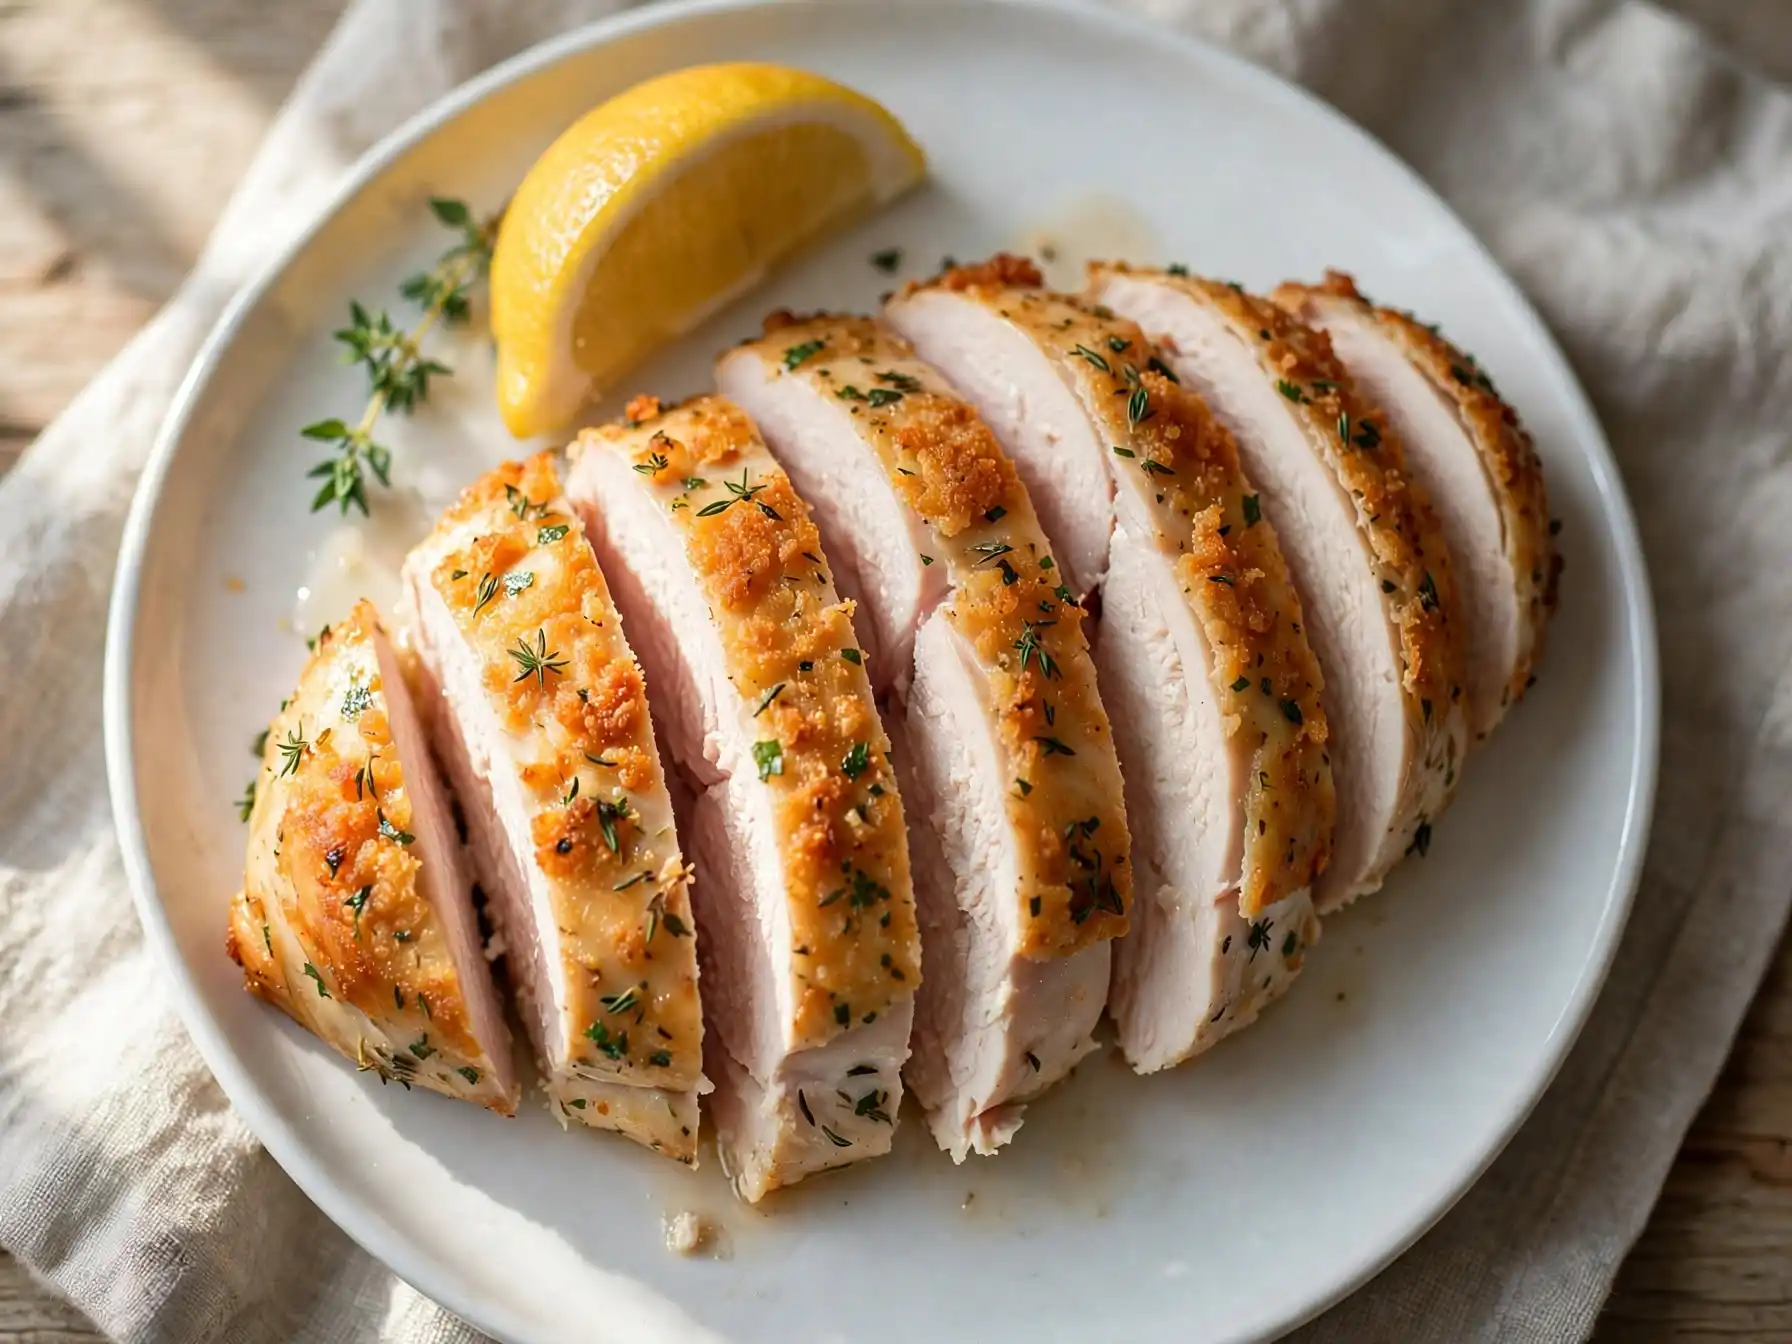
Easy Baked Chicken Breast in 25 Minutes (Never Dry)
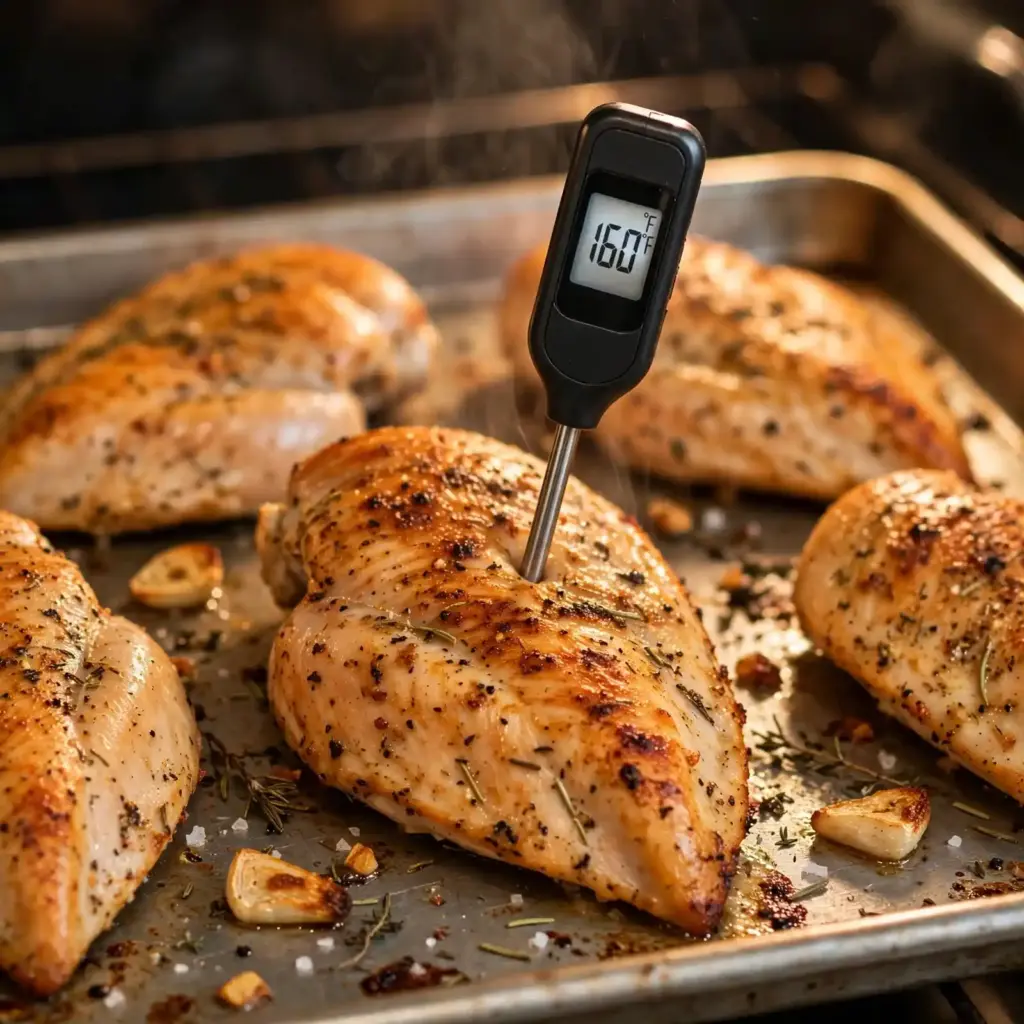
Most dry chicken comes down to one thing: guessing. You put it in the oven, walk away, and pull it out when it “looks done,” and by then it’s already fifteen degrees past done. This baked chicken breast method fixes that with two changes: pounding the breasts to an even thickness first, and pulling them at 160°F instead of waiting for 165°F, since the temperature climbs another five degrees while the meat rests. That’s it. No brining overnight, no fancy marinade you have to plan a day ahead.
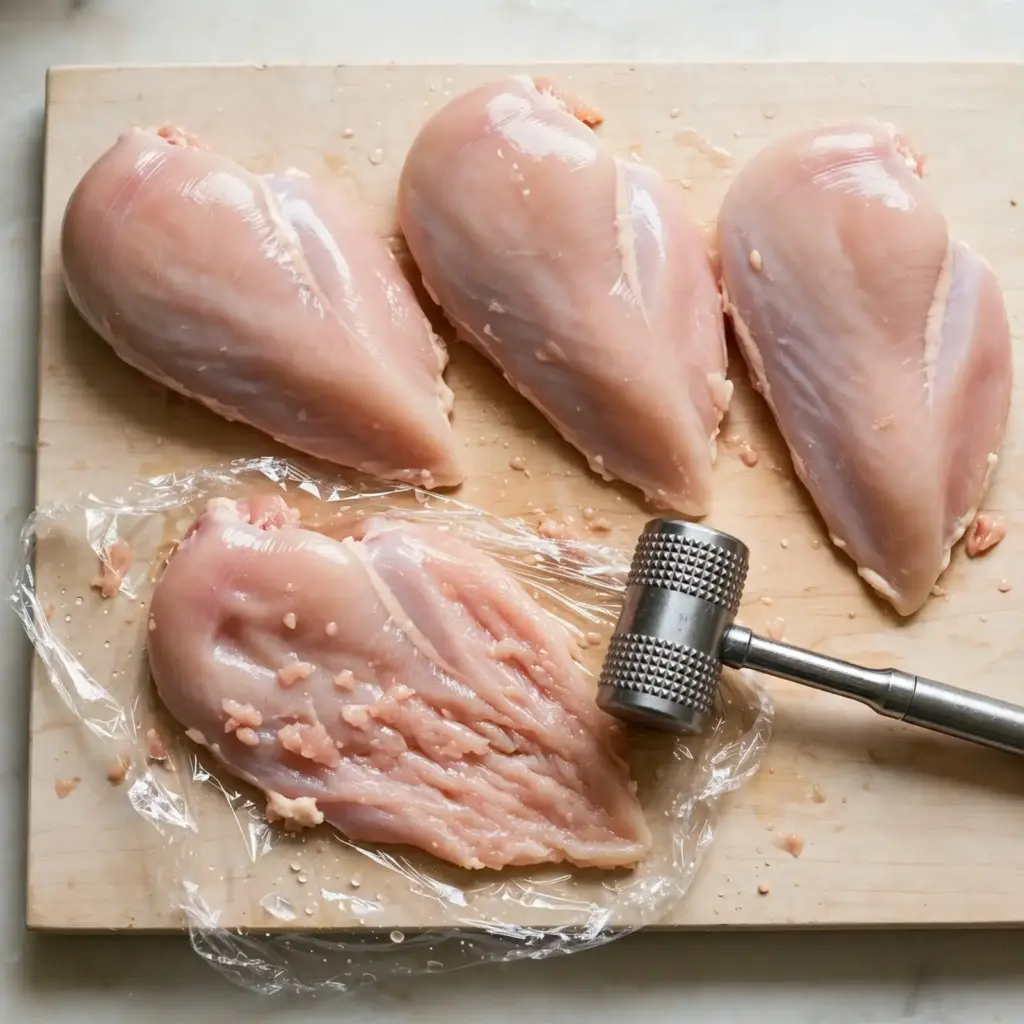
I started doing it this way after ruining more chicken breasts than I want to admit, usually because one side of the breast was twice as thick as the other, so by the time the thick end hit temperature, the thin end was already chalky. Evening out the thickness with a meat mallet (or the bottom of a heavy pan) solves that in about thirty seconds per breast.
Why You’ll Love It Baked Chicken Breast
- It’s genuinely fast. From fridge to table in under 30 minutes, most of which is hands-off oven time.
- You get a seasoned, slightly crisp exterior without pan-searing first, so there’s no extra skillet to scrub.
Baked Chicken Breast Ingredients
- 4 boneless, skinless chicken breasts (about 6-8 oz each) — look for breasts that are roughly the same size so they cook evenly; if one is much larger, pound it thinner or cut it in half.
- 2 tablespoons olive oil — avocado oil works the same way if that’s what you have.
- 1 teaspoon garlic powder
- 1 teaspoon smoked paprika — regular paprika is fine too, it just won’t have the smoky note.
- 1 teaspoon dried oregano
- 1/2 teaspoon onion powder
- 3/4 teaspoon fine sea salt (use less if your seasoning blend already has salt in it)
- 1/2 teaspoon black pepper
- Optional: 2 tablespoons unsalted butter, melted, brushed on halfway through baking for extra richness
Allergens: As written, this recipe contains no dairy, egg, tree nut, peanut, gluten/wheat, soy, fish, shellfish, or sesame if you skip the optional butter. If you add the butter, it introduces dairy; swap in olive oil or a dairy-free butter alternative to keep it dairy-free. This information reflects the recipe as written. Substitutions change the recipe but don’t guarantee an allergen-free result, so check your product labels and check with a doctor if you’re cooking for someone with a diagnosed allergy.
Recipe Timing
Servings: 4 | Difficulty: Easy | Cuisine/Course: American, Main Dish
Prep Time: 5 min | Cook Time: 20 min | Resting Time: 5 min | Total Time: 30 min
The resting time matters more than people think. If you slice into the chicken right out of the oven, the juices run straight out onto the cutting board instead of staying in the meat. Five minutes under a loose foil tent lets the muscle fibers relax and reabsorb that moisture.
Read Also: Chicken Noodle Soup
Equipment
You just need a baking dish or a rimmed sheet pan, a meat mallet or heavy skillet for pounding, and an instant-read thermometer. The thermometer isn’t optional if you actually want this to work reliably; it’s the difference between guessing and knowing.
Instructions
- Preheat the oven to 425°F. A hotter oven gets you browning on the outside in the same amount of time it takes the inside to cook through, which is what keeps this baked chicken breast from turning into plain boiled-tasting meat.
- Even out the thickness. Place each breast between two sheets of plastic wrap and pound the thicker end until the whole piece is roughly 3/4 inch thick throughout. Don’t skip this step even if it feels fussy; it’s the single biggest reason baked chicken breast turns out dry.
- Season generously. Pat the chicken dry with paper towels (this helps it brown instead of steam), then rub each side with olive oil and coat evenly with the garlic powder, smoked paprika, oregano, onion powder, salt, and pepper. Food safety note: wash your hands, cutting board, and any utensils that touched raw chicken with hot, soapy water before they touch anything else, and use a separate cutting board for produce if possible.
- Arrange and bake. Place the breasts in a single layer in a baking dish or on a sheet pan, leaving space between each piece so they roast rather than steam. Bake for 18-22 minutes, checking at the 18-minute mark.
- Check for doneness. Insert an instant-read thermometer into the thickest part of a breast. Pull the pan when it reads 160°F; it will carry over to 165°F while resting. If you don’t have a thermometer, the chicken is done when the juices run clear and the center is opaque all the way through with no pink.
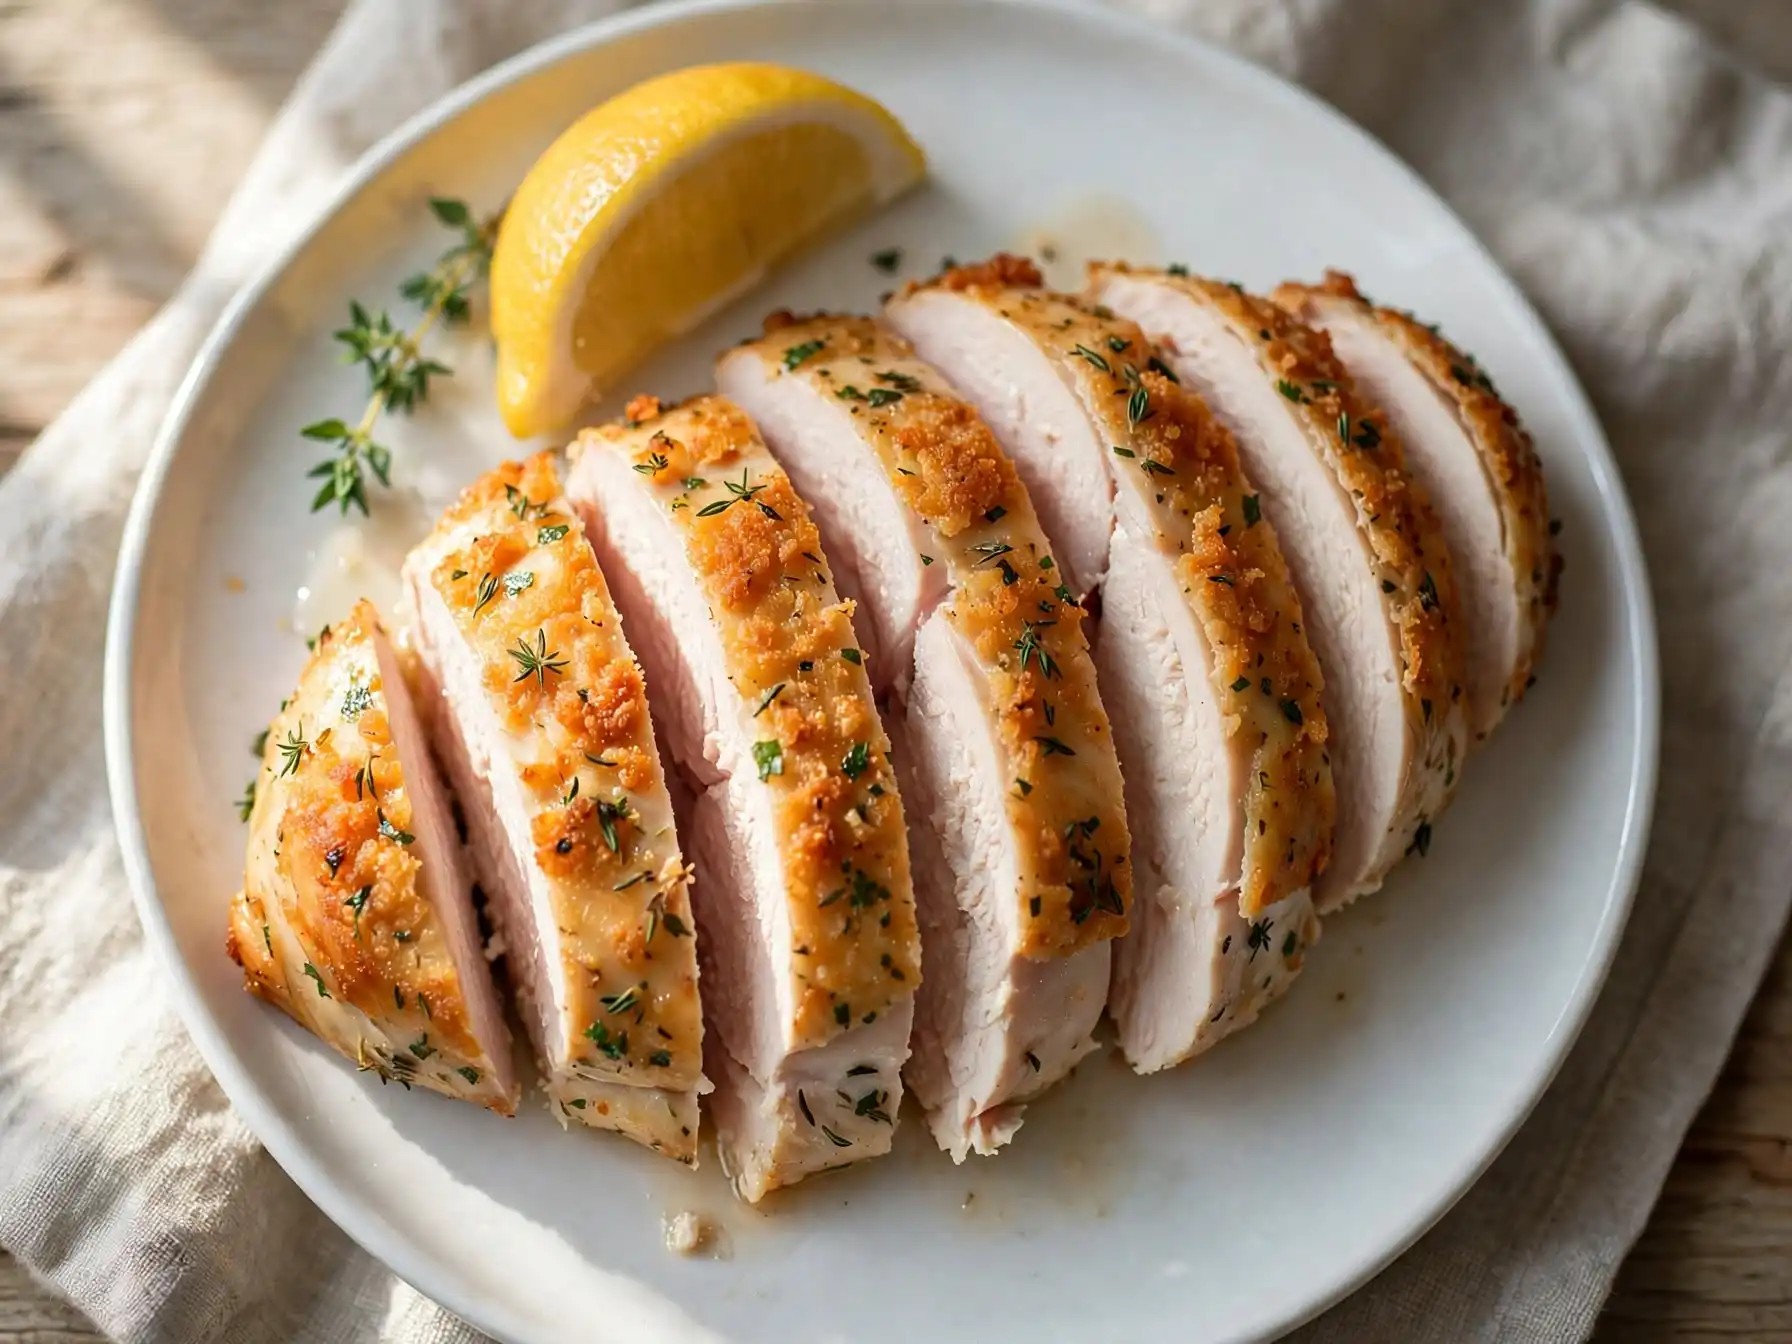
- Rest, then slice. Tent the chicken loosely with foil and let it rest for 5 minutes before cutting. Slice against the grain for the most tender bite.
Key Tips
- Buy similarly sized breasts. If the four in your package range from 5 oz to 10 oz, they won’t finish cooking at the same time. Sort by size and check the smallest ones first.
- Don’t crowd the pan. Breasts touching each other trap steam between them, which softens the crust you just seasoned. Give each one an inch of space.
- Let the thermometer do the thinking. Color and juice clarity are backup indicators at best; the internal temperature is the only reliable one.
Read Also: Buffalo Chicken Dip
Troubleshooting
My chicken came out dry even though I followed the times. Oven temperatures vary more than people expect, sometimes by 25 degrees in either direction from what the dial says. If this keeps happening, get an oven thermometer to check your actual temperature, and rely on the internal meat temperature over the clock every time.
The outside browned but the inside was still pink. This usually means the breasts were too thick or weren’t pounded evenly. Cut thicker breasts in half horizontally next time, or extend pounding until they’re a consistent 3/4 inch.
The seasoning didn’t stick and mostly stayed on the pan. Pat the chicken fully dry before oiling it. Wet chicken doesn’t hold a dry rub well, and the oil needs a dry surface to cling to.
Variations
- Lemon-herb: Add 1 tablespoon lemon zest and swap the oregano for fresh chopped rosemary and thyme.
- Cajun-style: Replace the smoked paprika and oregano with 1 1/2 teaspoons Cajun seasoning for more heat.
- Parmesan-crusted: Press a light layer of grated Parmesan onto each breast in the last 5 minutes of baking for a browned, cheesy top (note: this adds dairy).
Each of these keeps the same base method, so the timing and thermometer target don’t change no matter which direction you take it.
Serving Suggestions
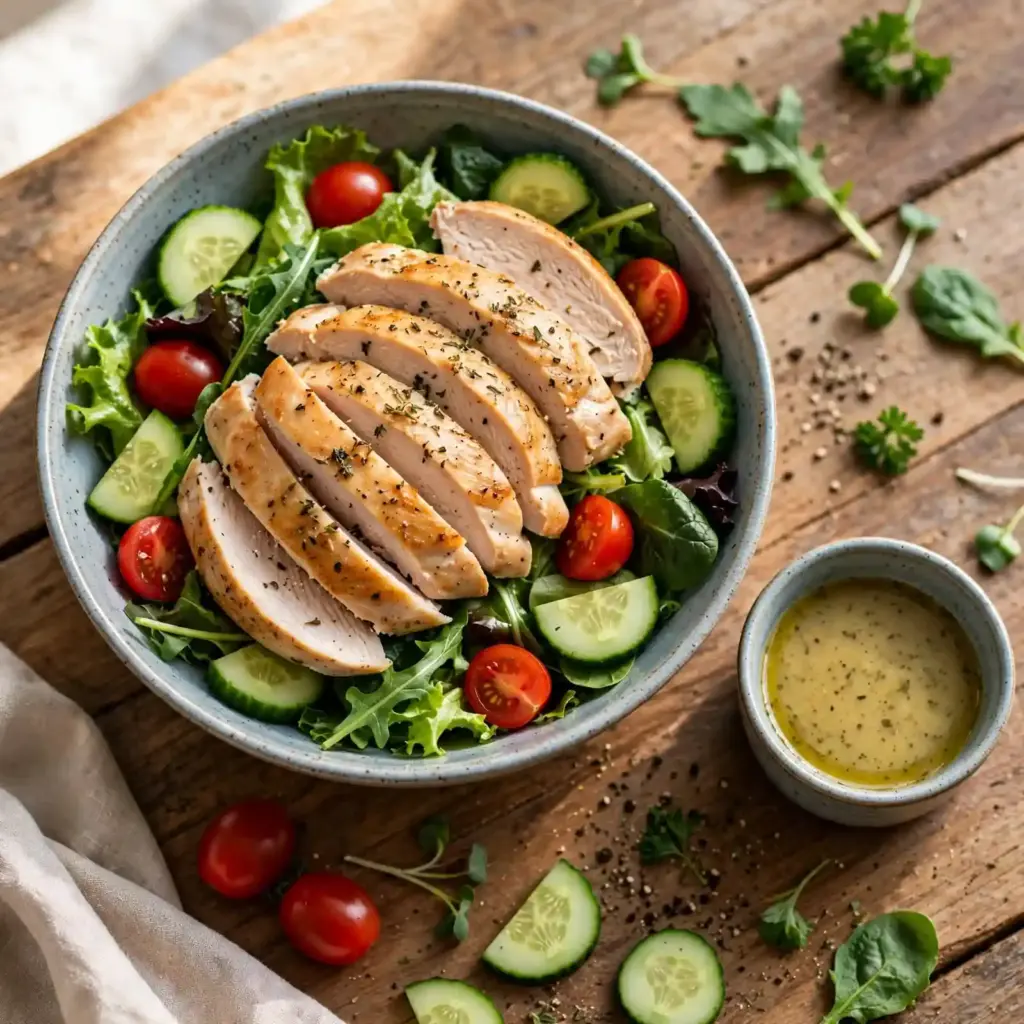
Sliced baked chicken breast works over a simple green salad, alongside roasted potatoes, tucked into a wrap with ranch and shredded lettuce, or diced cold into a grain bowl the next day. It’s also a solid meal-prep base since it reheats better than most cuts of chicken, as long as you don’t overcook it the first time around.
Storage, Reheating, and Freezing
Store leftover chicken in an airtight container in the fridge for up to 4 days. To reheat without drying it out further, add a splash of chicken broth or water to the container and warm it covered in a 300°F oven for about 10 minutes, or microwave in short 20-second bursts. To freeze, let it cool completely, then wrap tightly or freeze in a zip-top bag for up to 3 months. Thaw overnight in the fridge before reheating.
Read Also: White Chicken Chili
Frequently Asked Questions
How long does it take to bake chicken breast at 425°F?
For breasts pounded to an even 3/4 inch thickness, plan on 18-22 minutes at 425°F. Thicker, unpounded breasts can take closer to 25-28 minutes, so always confirm with a thermometer rather than the clock alone.
Can I bake chicken breast straight from frozen?
You can, but plan on roughly 50% more time, and the texture won’t be as even since the outside will finish well before the inside thaws and cooks through. For the best texture, thaw it in the fridge overnight first.
Why is my baked chicken breast always dry?
Almost always it’s one of two things: it was cooked past 165°F internal temperature, or it wasn’t pounded to an even thickness so part of it overcooked while waiting for the rest to catch up. A thermometer and a meat mallet solve both problems.
Can I use bone-in chicken breast for this recipe?
Yes, but the cook time roughly doubles to 35-45 minutes at the same oven temperature, since bone-in breasts are thicker and the bone slows heat penetration. Use the same 165°F target either way.
Can I make this ahead and reheat it for meal prep?
Yes. Bake and slice it, then store it in the fridge for up to 4 days. Reheat gently with a bit of added liquid to keep it from drying out further, since chicken breast has very little fat to protect it during a second round of heat.
Conclusion
This baked chicken breast method isn’t complicated, but the two details that actually matter, pounding for even thickness and pulling it at 160°F, are the ones most recipes skip over. Once you’ve made it this way a couple of times, you’ll stop needing the recipe at all. It’s the kind of dinner you can throw together on a weeknight without thinking twice, and it’s flexible enough to season a dozen different ways depending on what you’re in the mood
Baked Chicken Breast
Ingredients
Method
- Preheat oven to 425°F.
- Pound chicken to an even 3/4-inch thickness.
- Pat dry, then coat with oil and seasoning.
- Arrange in a single layer, spaced apart, in a baking dish.
- Bake 18-22 minutes until internal temp reaches 160°F.
- Rest 5 minutes under foil, then slice against the grain.